Other Articles in the series
- Overview
- Add new Permission
- Project structure
- Multi-Languages (i18n)
- DI & IoC - Why and Why not?
- RESTful & WebApi
- Manage Application Lifecycle
- Build & Deploy Application
Introduction
The first thing, I would like to share to you is "We did not learn technogies, we learn how to use technologies for our business".
Note: In this code, we use Relase Candidate version of Angular 2
Nowadays, with growing of web development, more and more desktop applications (such as HRM, CRM, Payroll, ...) were migrated to web application.
So the web application can utilize much benefit from web environment. This is easy to search the pros and cons between web application and desktop application on the internet, so we will not discuss here.
Purpose of series of articles will introduce you how did I organise the project for those types of application.
Some highlight technologies:
- Angular2 (typescript)
- WebApi (RESTful)
- Entity Framework
- Bootstrap
- IoC
- Multi-Layer architecture
- Modular your Application
- Multi Languages
- Design Pattern (Unit Of Work, Repository, …)
- SOLID principle
- Gulp
- NodeJs
There are many mistake and improvements need to be done so far.
How to get the code
Checkout the code at https://github.com/techcoaching/TinyERP.git
How to run the code
The code was organized in 2 folders:
- Client: this is client code written by typescript using angular2 framework.
- Api: this is server side code where handles request from client.
Run client side:
- To run the client side code, please check and install if missing:
- Run the app
- Open command prompt and go to the root folder of client:
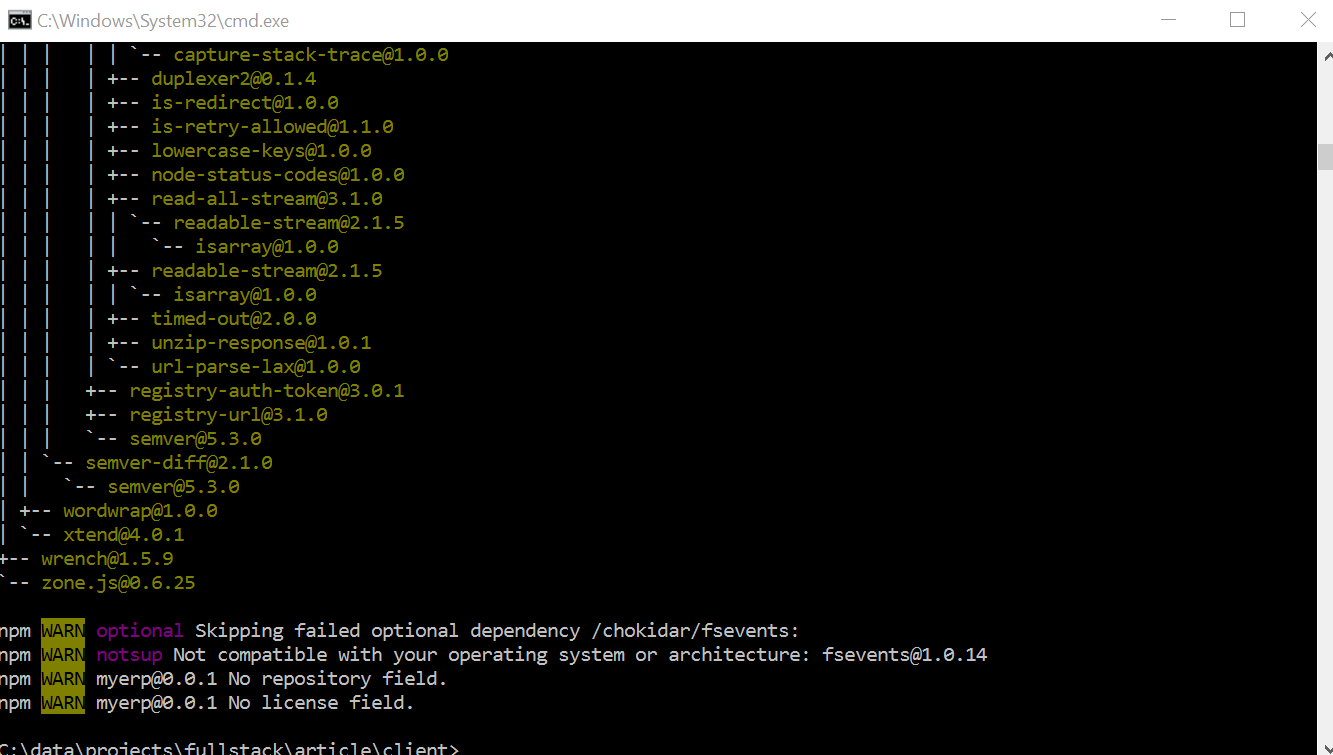
- Type “npm install” for installing missing nodejs packages.
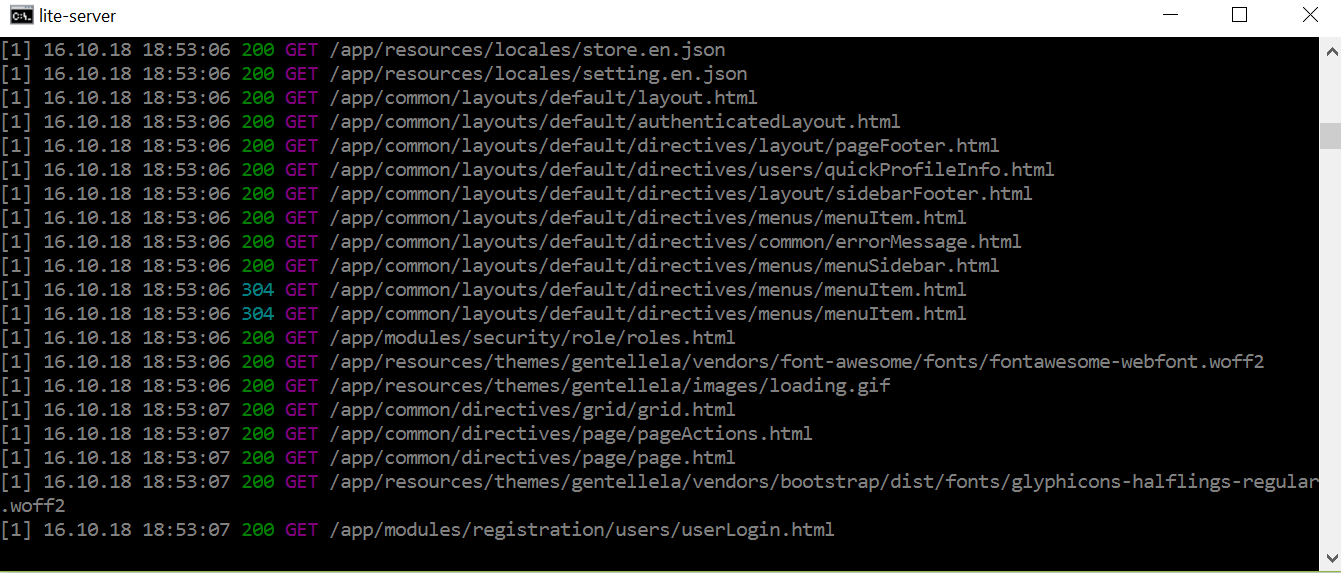
- Use “npm start” to run the app:
Output in console:
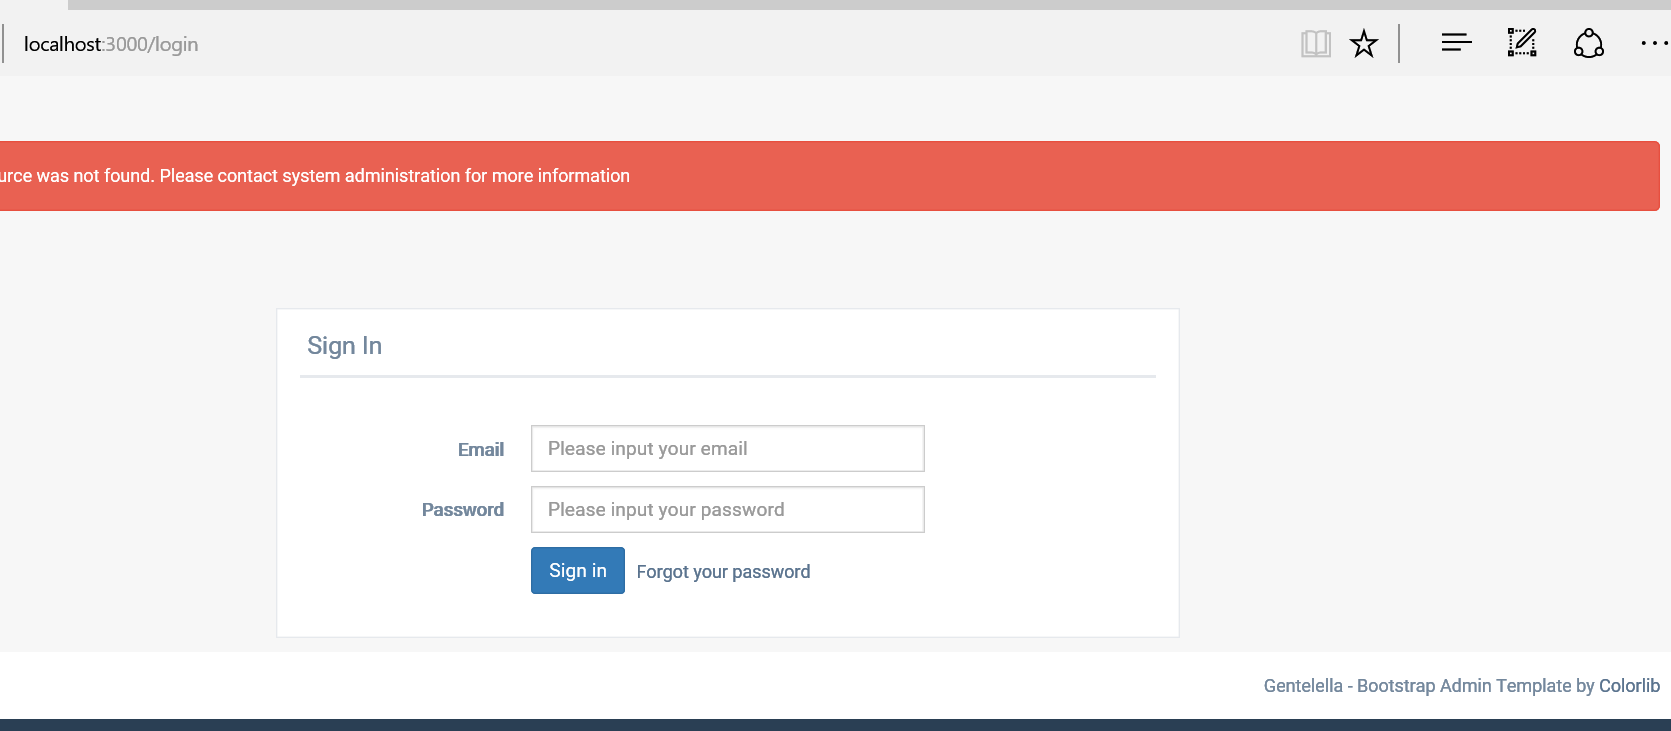
Output on the browser:
To this point, we can run the client successfully
Run API
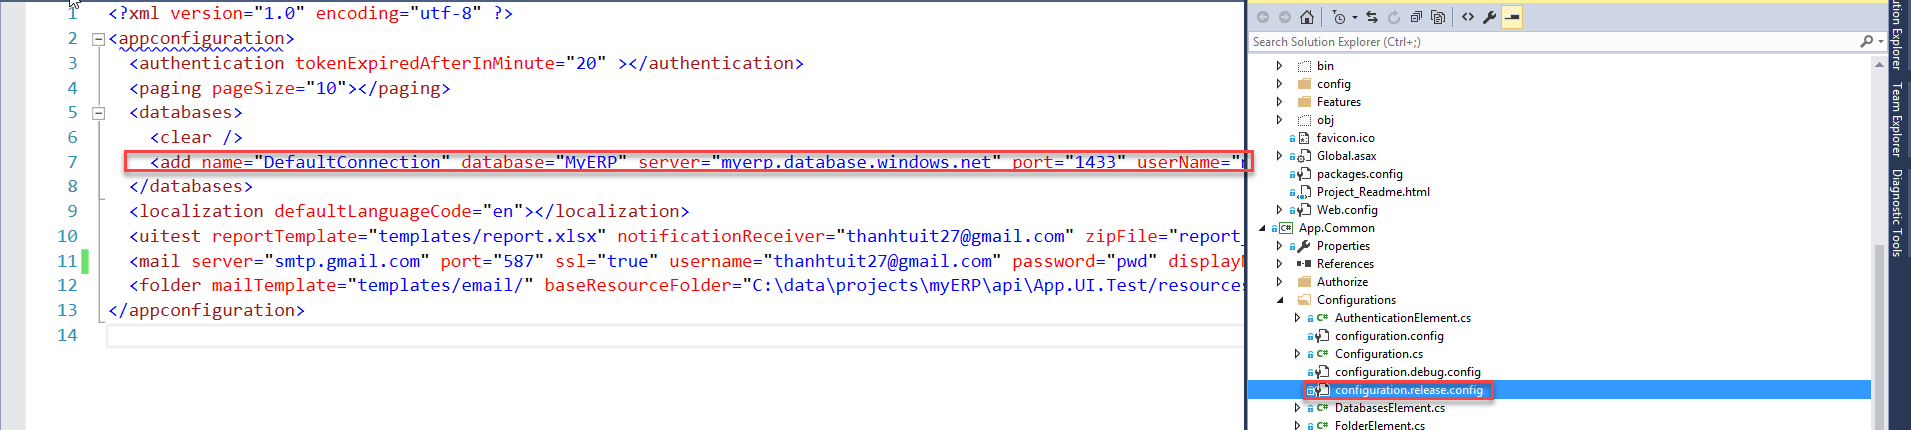
- For the first run, We need to update the connectionstring in app.common\configurations\configuration.(debug|release).config
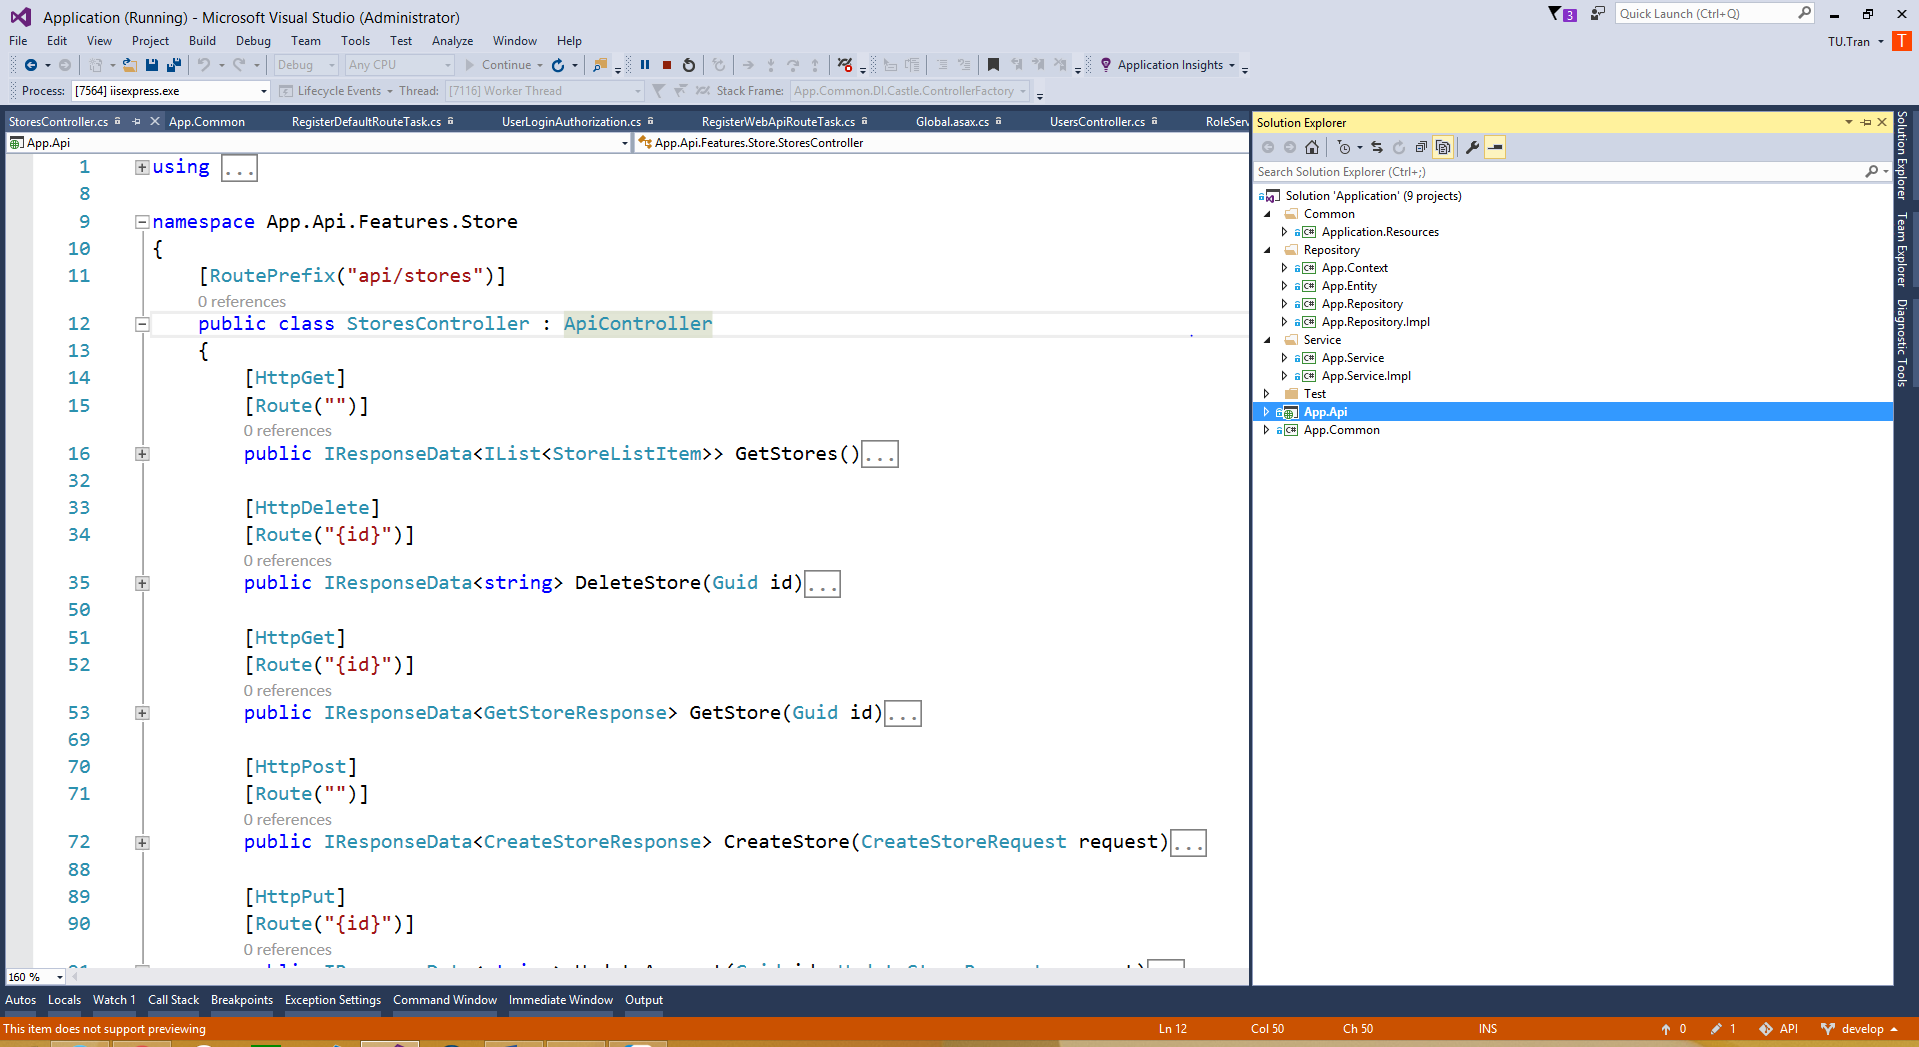
- Open Api project in visual studio (2015).
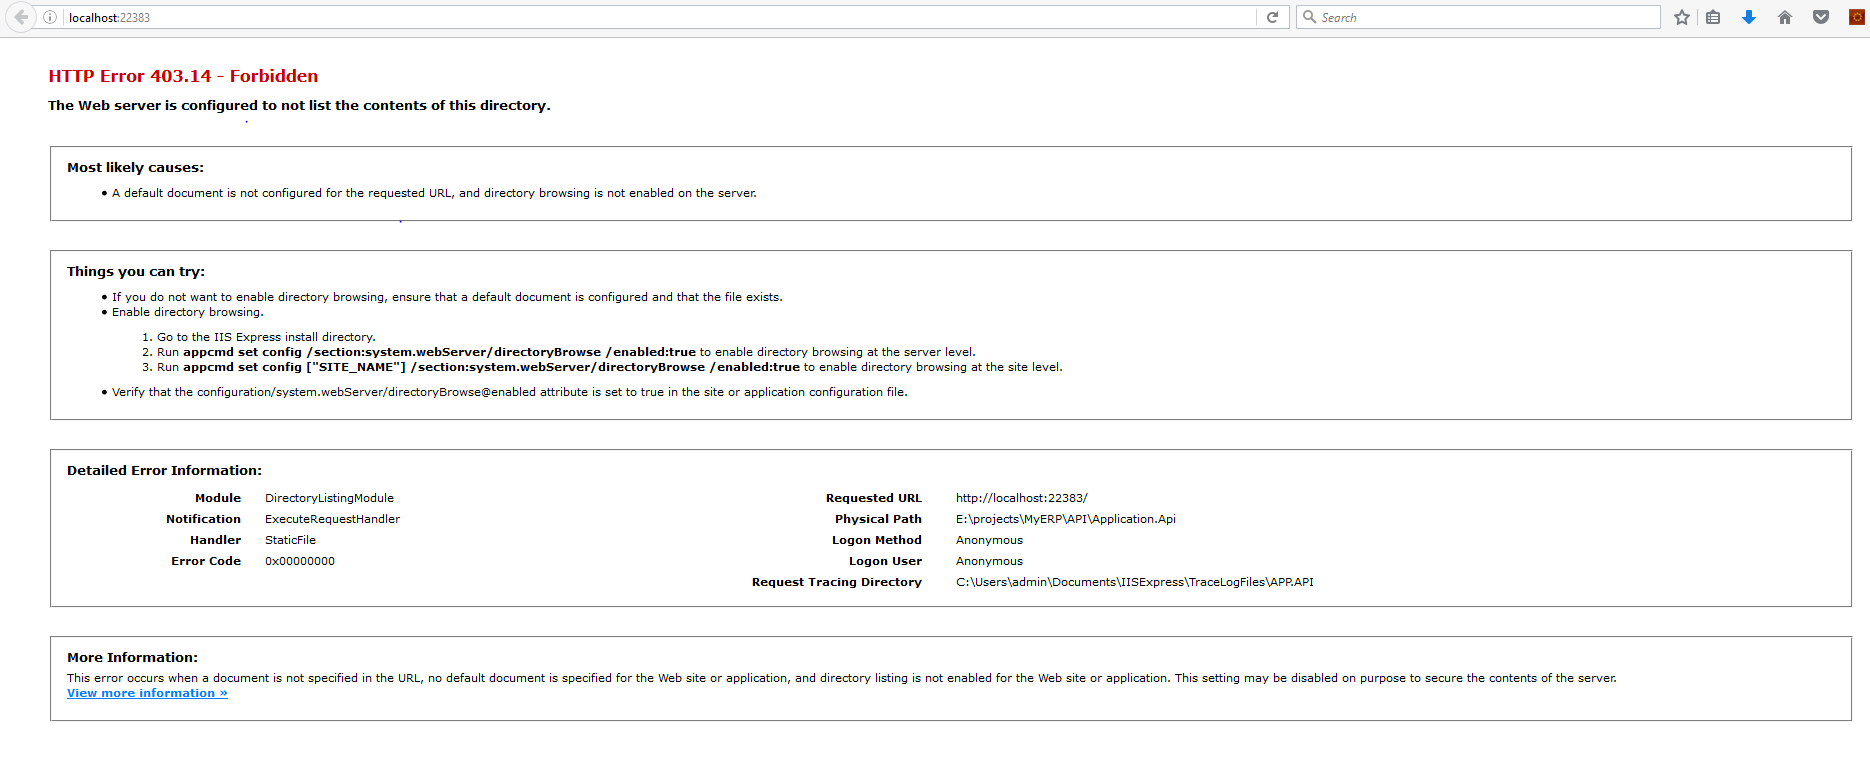
- Press f5 to run the Api on IIS Express, we will see the output on browser:
Config the default route, will remove this error page.
The First Look At The App
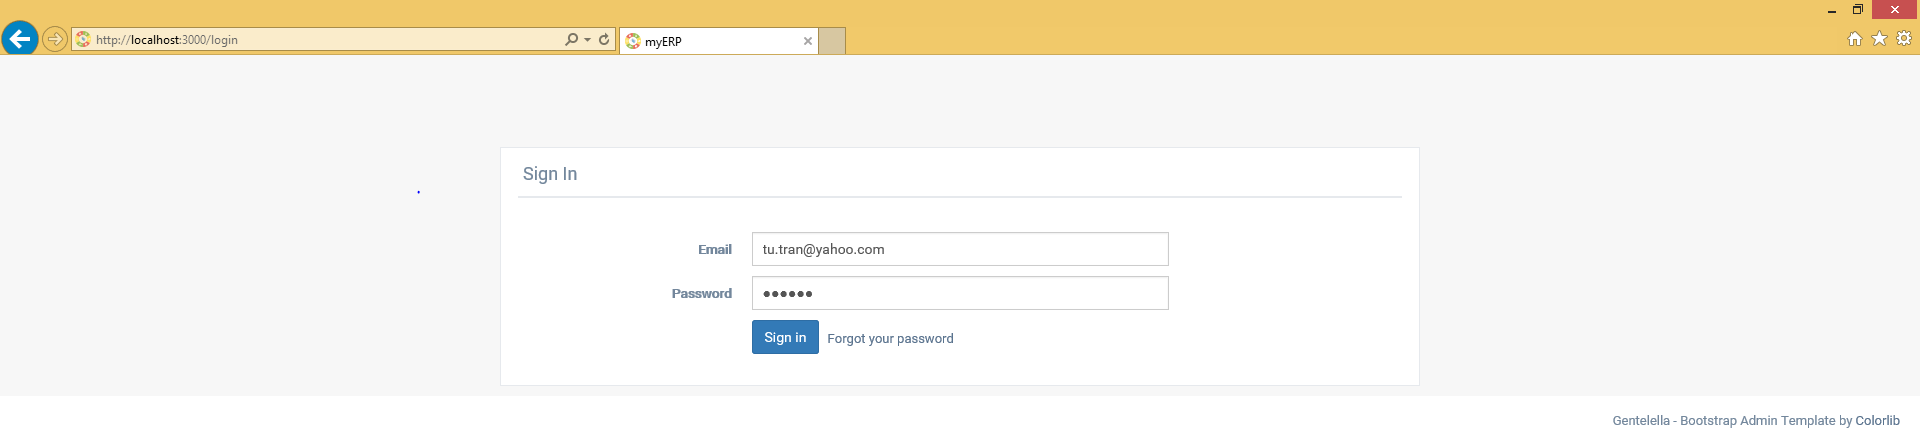
- We need to login before continueing:
- Login with tu.tran@yahoo.com/123456, we will see the default page as below (this can be changed in application configuration):
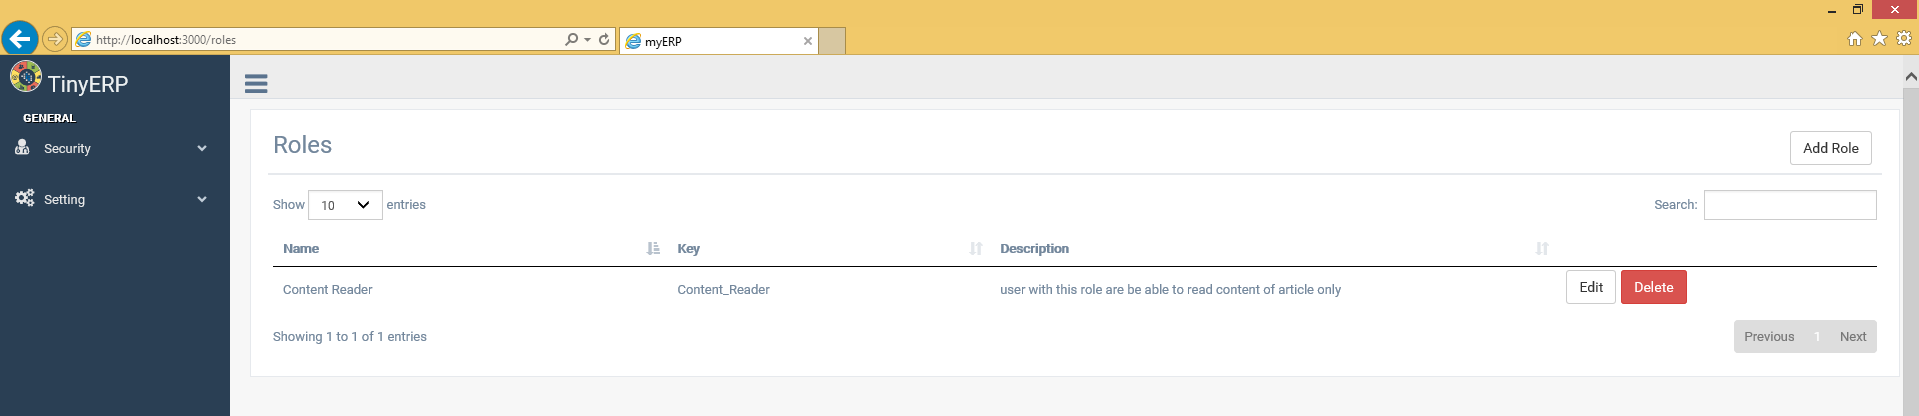
List of Roles Page
In this section, we will go through how we implement new page using my code.
Analyse
As my habit, I analyse the page before implement, this will help us recognise:
- Listing out The steps we need to do to complete the page.
- Figure out the missing information, so we can ask for help immediatedly.
- Think about the flow of logic from the client to server side, from UI to repository. So the written code will be nicer. For this, many of my co-workers, they try to write the code first, and debug it after that. When something wrong, it changes your behavior, and we try to change the code to make it works. this may break the logic flow and the code is not follow the convention, architecture was used in the app. This will raise some new potential issues in the future and the code is hard for manteance.
After analysing the page, we figure out the list of things need to be completed as below:
On client:
+ Create new module (called security), I will discusss more pros and cons on how to modular the application.
+ Register route for Roles component (page in angular was called component) and appropriated menu item information (sub menu on th eleft panel)
+ Import and register this setting module with application config.
+ Create component files (html file for UI, ts file for logic handling and ts for view model of that component).
+ Implemnet the UI of Roles component
+ Implement logic of Roles component (also calling to server and getting data)
+ Implement service for this page (service willmake the call to REST api for getting the list of permission).
On Api:
+ Add new controller called RolesController for handling request related to Role.
+ Add RoleService and RoleRepository for getting the list of Roles (I use multi-layers architecture in this case)
+ Add entity into appropriated DbContext.
Ok, Now we will go through step by step in detail.
Implement client
In this section, <root> folder is the folder of client code (the path to "client" folder).
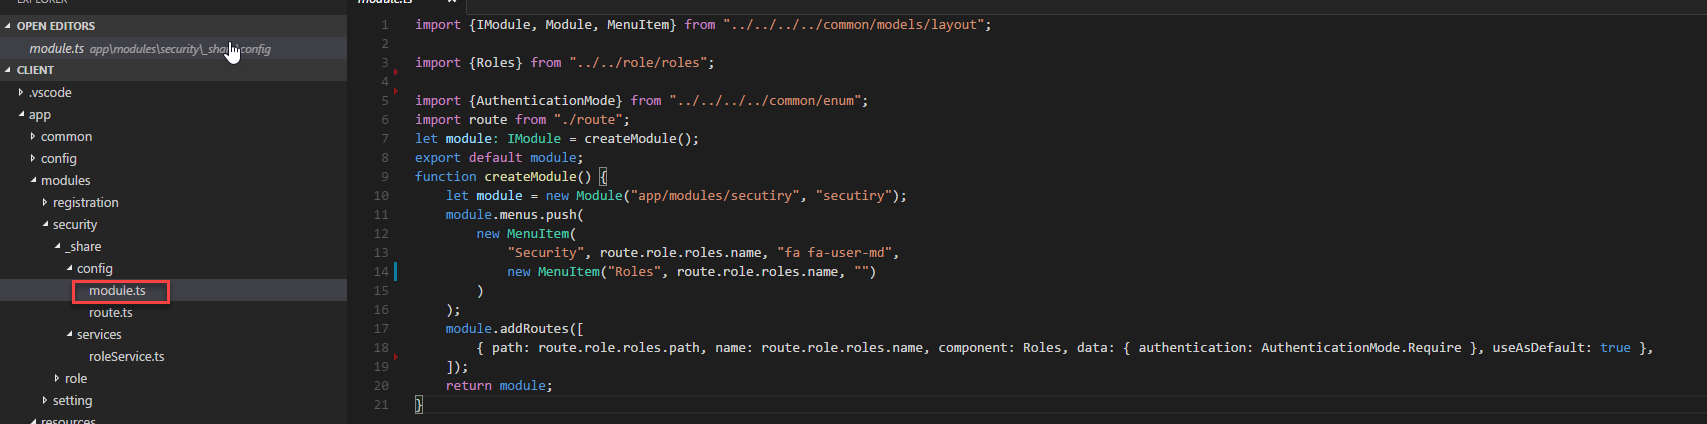
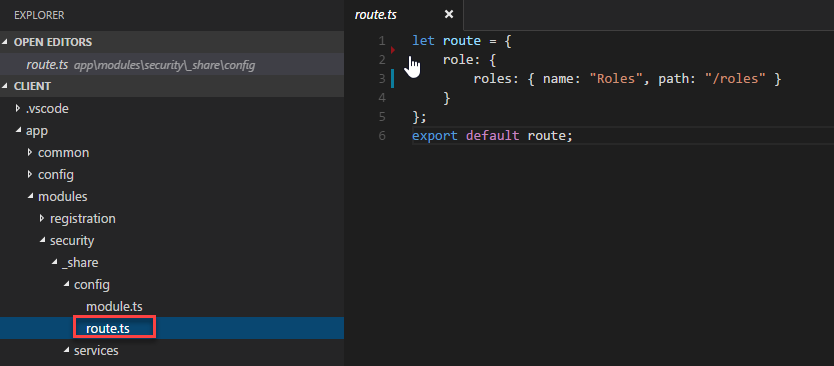
- Create new module (called security). as the convention of the app, we create new module.ts file in "<root>/app/modules/secutiry/_share/config" as photo below:
and route.ts file
In this file, we will provide the setting information for security module, such as: list of sub menu items, routing in module, ...
- Register route for Roles component (page in angular was called component) and appropriated menu item information (sub menu on th eleft panel). Add this line into the module.ts file created in above step.
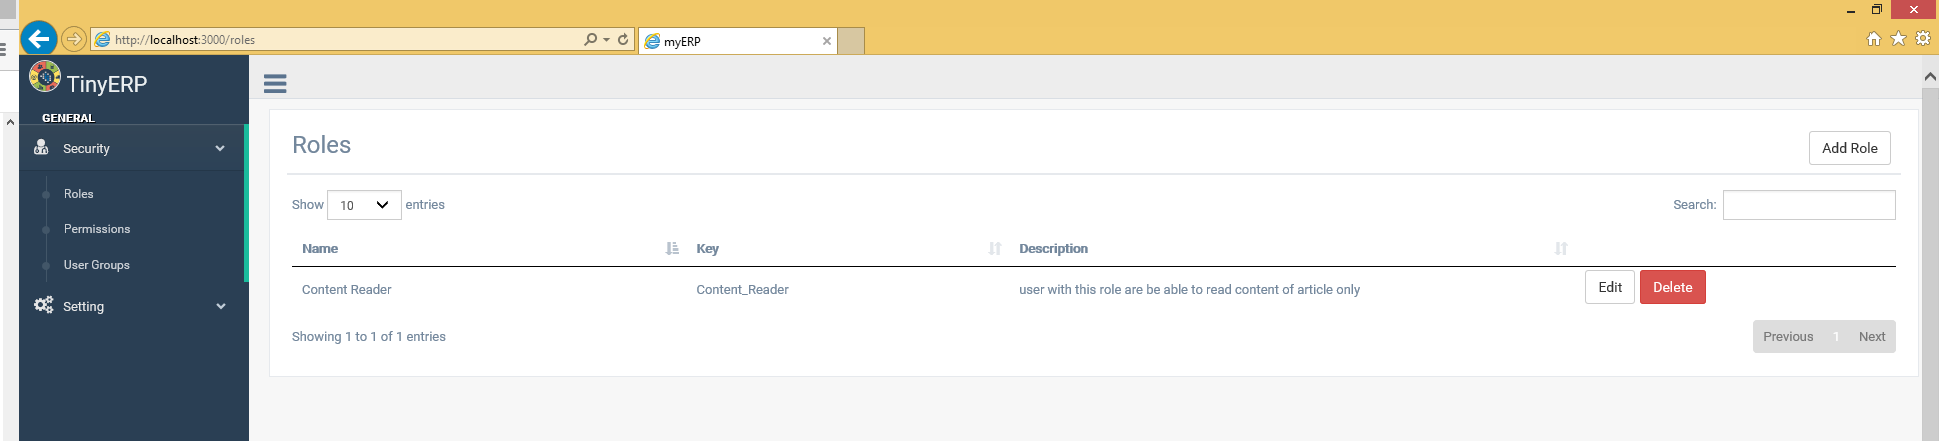
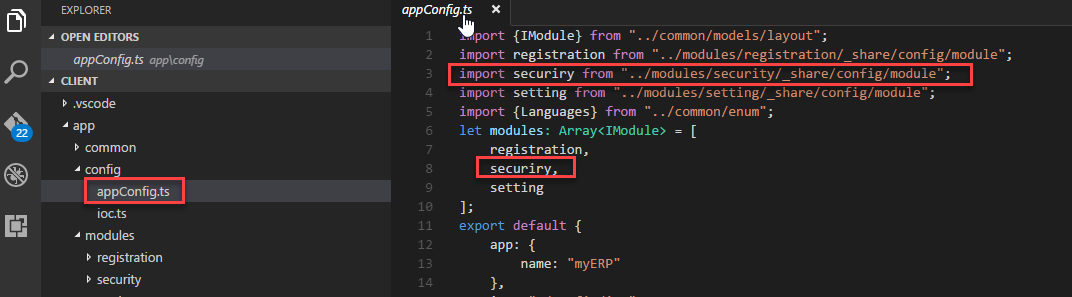
- Import and register this setting module with application config. This will register the security module in the application, show the module and its sub menu items will be displayed on the left panel.
The sytem will auto register routes in security module for us automaticly.
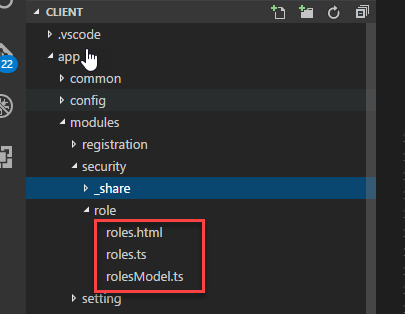
- Create component files (html file for UI, ts file for logic handling and ts for view model of that component).
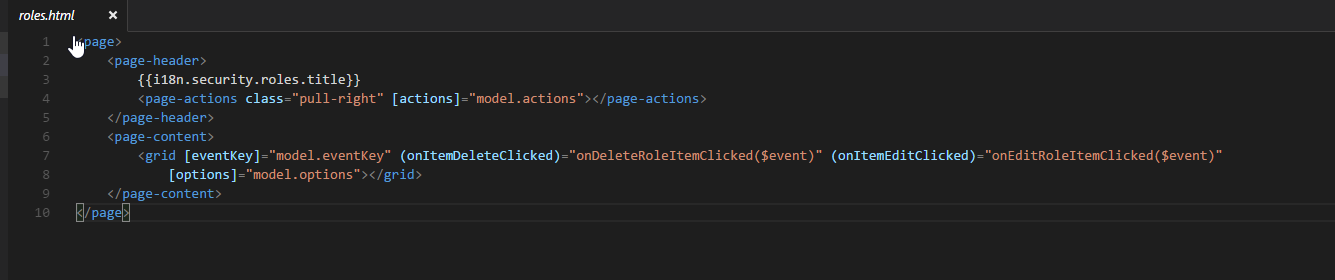
- Implemnet the UI of Roles component, there are some directives already created, we use in this article. I will explain more detail in other article how to implement those directives in other articles.
In this html, we use:
- "grid" directive, for displaying the list of roles. there are some events we can passnig the handlers and columns of grid in mode.options property.
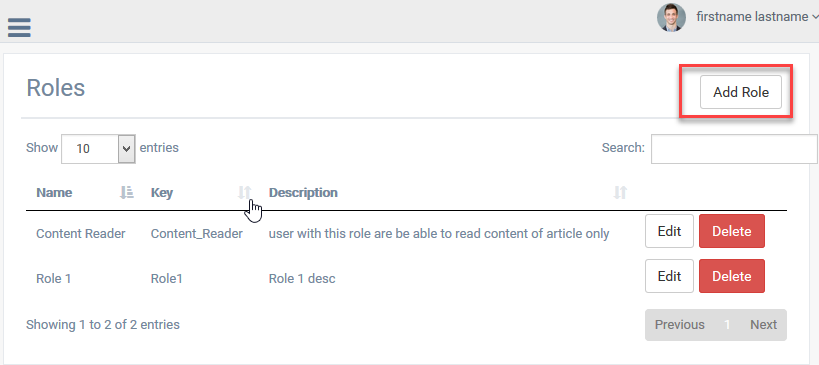
- "page-action" directive, this will dispaly the "Add Role" on the list of Roles as photo below:
- page, page-header, page-content directives, this is the structure of the page in my framework.
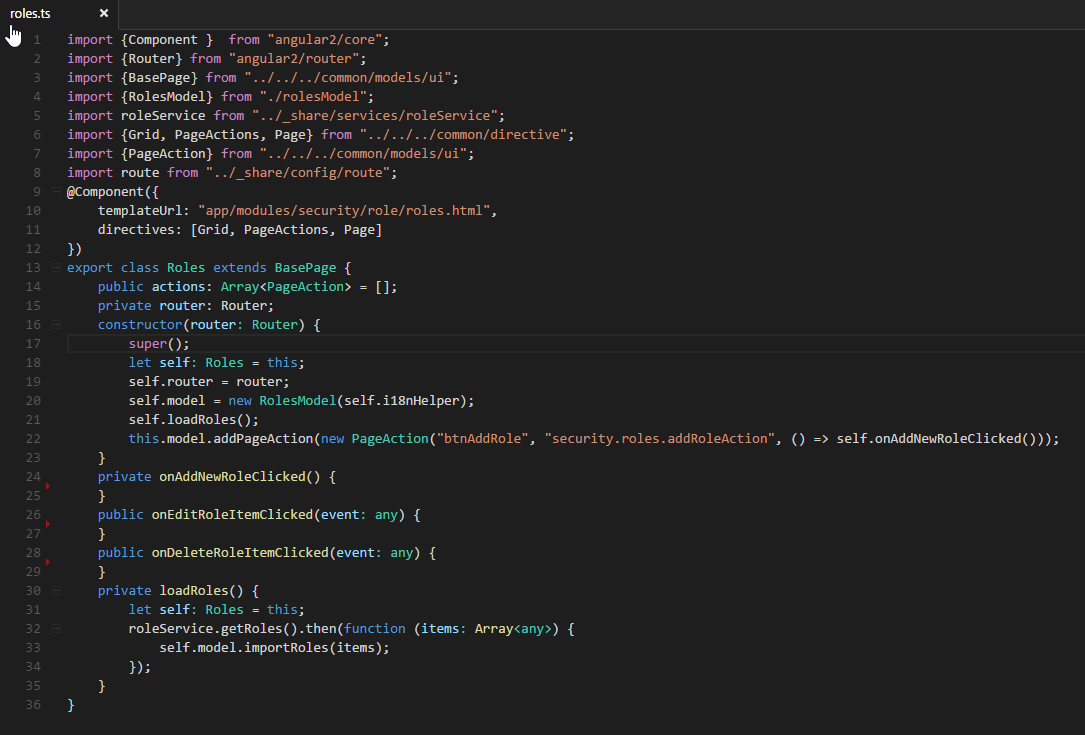
- Implement logic of Roles component (also calling to server and getting data)
For declare new componnet we need to:
- Specify the template file for the component (line 9).
- Declare the number of directives were used in component html file (line 11). Is the directive was not declare here, it will not be redered in roles.html file and angular will consider its tag (<page-action/>, <grid />) as html tag
- Declare new Roles class inherit from BasePage.
- Declare the model for the component. each component should have its own view model, this help us reducing the complexity of roles.ts file.
- Getting data from api by calling appropriated method of roleService. We move this to service and let the roles.ts focus on the behavior of the page.
Note: we pass i18nHelper into constructor of RolesModel. this will be used for resolving the lable of grid columns base on the current languages (multi-language supported).
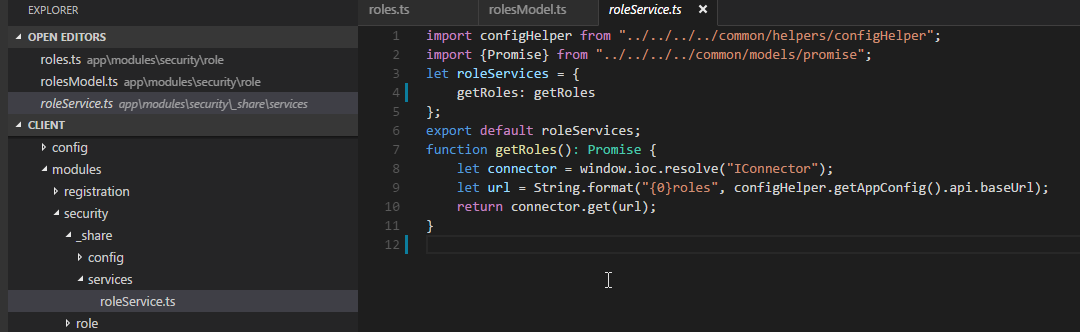
- Implement service for this page (service willmake the call to REST api for getting the list of permission).
This is just a simple call to REST api for getting the list of roles. For more information about IConnection, see <root>/app/common/connectors/RESTConnector.ts
Implement Api
In this section, <root> folder is the folder of api code (the path to "api" folder).
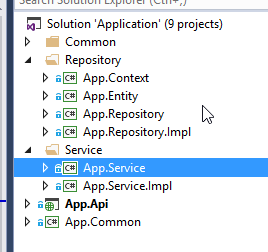
- Api project structure:
- App.Common: this contains the common code can be used everywhere in the app
- App.Api: this is public REST api that client side can call.
- App.Service: this contains all service interfaces and its appropriated DTOs.
- App.Service.Impl: this only contains implementation of appropriated interface in App.Service.
- App.Repository: this contains all repository interfaces. Each repository only operates on 1 entity in database.
- App.Repository.Impl: this only contains implementation of appropriated interface in App.Resitory.
- App.Entity: This contains all entities of the app.
- App.Context: Currently, this containts the all DbContexts in the app, as we use EF framework. I intend to merge this with the App.Entity in the future.
Note: The communication between the layer (such as: App.Api -> App.Service => App.Repository), we use the interface only.
- Add new controller called RolesController for handling request related to Role.
As the convention of the app, we create new RolesController in "App.Api/Features/Security"
Hide Copy Code
namespace App.Api.Features.Security
{
    [RoutePrefix("api/roles")]
    public class RolesController : ApiController
    {
        [HttpGet]
        [Route("")]
        public IResponseData<IList<RoleListItemSummary>> GetRoles()
        {
            IResponseData<IList<RoleListItemSummary>> response = new ResponseData<IList<RoleListItemSummary>>();
            try
            {
                IRoleService roleService = IoC.Container.Resolve<IRoleService>();
                IList<RoleListItemSummary> roles=roleService.GetRoles();
                response.SetData(roles);
            }
            catch (ValidationException ex)
            {
                response.SetErrors(ex.Errors);
                response.SetStatus(System.Net.HttpStatusCode.PreconditionFailed);
            }
            return response;
        }
    }
}
I think the code is rather simple. From controller we call "GetRoles" of the appropriated service interface and get the list of roles (dto).
IoC will return the concrete instance of that service.
In App.Service.Impl, we have boostrap.cs file, this is the place for registering the service interface and its concrete implementation.
Hide Copy Code
namespace App.Service.Impl
{
    public class Bootstrap : App.Common.Tasks.BaseTask<IBaseContainer>, IBootstrapper
    {
        public Bootstrap():base(App.Common.ApplicationType.All)
        {
        }
        public void Execute(IBaseContainer context)
        {
            context.RegisterSingleton<App.Service.Security.IRoleService, App.Service.Impl.Security.RoleService>();
        }
    }
}
- Add IRoleService and RoleService for getting the list of Roles (I use multi-layers architecture in this case)
Hide Copy Code
namespace App.Service.Security
{
    public interface IRoleService
    {
        System.Collections.Generic.IList<RoleListItemSummary> GetRoles();
    }
}

namespace App.Service.Impl.Security
{
    internal class RoleService : IRoleService
    {
        public IList<RoleListItemSummary> GetRoles()
        {
            IRoleRepository repository = IoC.Container.Resolve<IRoleRepository>();
            return repository.GetItems<RoleListItemSummary>();
        }
    }
}
Note:
- We should define appropriate DTOs for each action, as most cases, we just get some properties of entity and this will help the code easier for mantaince in future.
- The RoleService class was delared as internal, not a public class. So outside of this dll can not create instance of this class
- Add IRoleRepository and RoleRepository for getting the list of Roles
Hide Copy Code
namespace App.Repository.Secutiry
{
    public interface IRoleRepository: App.Common.Data.IBaseContentRepository<Role>
    {
    }
}

namespace App.Repository.Impl.Security
{
    internal class RoleRepository: BaseContentRepository<Role>, IRoleRepository
    {
        public RoleRepository() : base(new App.Context.AppDbContext(App.Common.IOMode.Read))
        {
        }

        public RoleRepository(IUnitOfWork uow) : base(uow.Context as IMSSQLDbContext)
        {
        }
    }
}
Note: The same as RoleService, RoleRepository class also was delared as internal. So only the interface can be used outside of this project.
- Add entity into appropriated DbContext:
Hide Shrink  Copy Code
namespace App.Entity.Security
{
    public class Role:BaseContent
    {
        public IList<Permission> Permissions { get; set; }
        public Role():base()
        {
            this.Permissions = new List<Permission>();
        }
        public Role(string name, string desc, IList<Permission> permissions): this() {
            this.Name = name;
            this.Key = App.Common.Helpers.UtilHelper.ToKey(name);
            this.Description = desc;
            if (permissions == null) { return; }
            this.Permissions = permissions;
        }
    }
}

namespace App.Context
{
    public class AppDbContext : App.Common.Data.MSSQL.MSSQLDbContext
    {
        public AppDbContext(IOMode mode = IOMode.Read) : base(new App.Common.Data.MSSQL.MSSQLConnectionString(), mode)
        {
        }
        public System.Data.Entity.DbSet<Role> Roles { get; set; }
    }
}
Summary
In this article, I provider you an overview about how to get the list of roles and display them on the ui.
In next article, we continue with how to create and update roles, and go into more detail of framework (such as: project structure, directives, ....).